After connecting your instrument or microphone cable to the input jack and adjusting the sensitivity knob, you must raise the input fader to record the signal to the hard drive.
NOTE: Be sure to connect speakers to the MASTER OUT, MONITOR OUTs or PHONES jack.
- Lower the red MASTER fader all the way down.
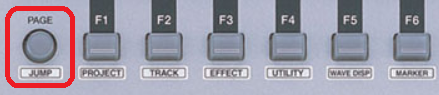
- Press the
 button.
 - Press the PAGE button until "LOAD" appears on the bottom of the screen.
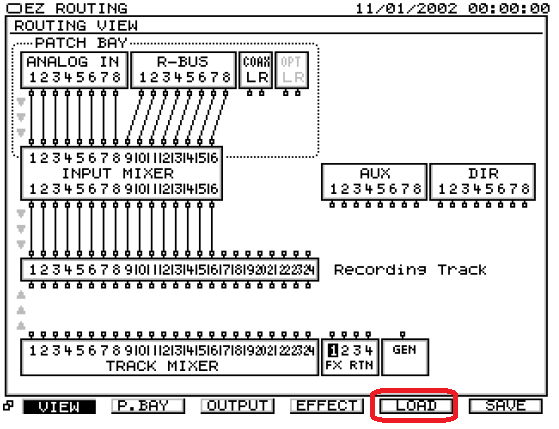
- Press F5 to select "LOAD".
- Use the ZOOM
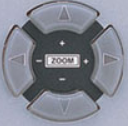 buttons to select "P00 Recording" and then press F5 (OK).
 - Press ENTER to confirm the selection. This loads the basic routing template for recording.
- Connect the instrument or microphone to the desired input.
Note: If an instrument is being used, be sure to turn it's volume up.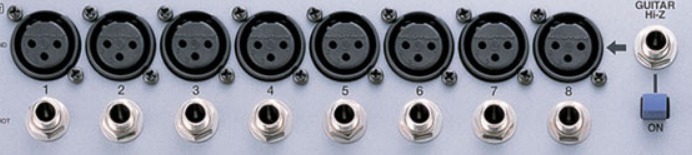
- Adjust the SENS knob of each input being used to the 12 o'clock position--as a starting point.
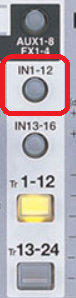
- Press IN 1-12 to select the input mixer. This assigns the faders to be inputs faders and adjusts the volume of audio coming into the VS-2400CD (such as a connected instrument or microphone).
- Raise the fader(s) for the input(s) you are using to 0db. For example: if a microphone is connected to input 5, bring up fader number 5.
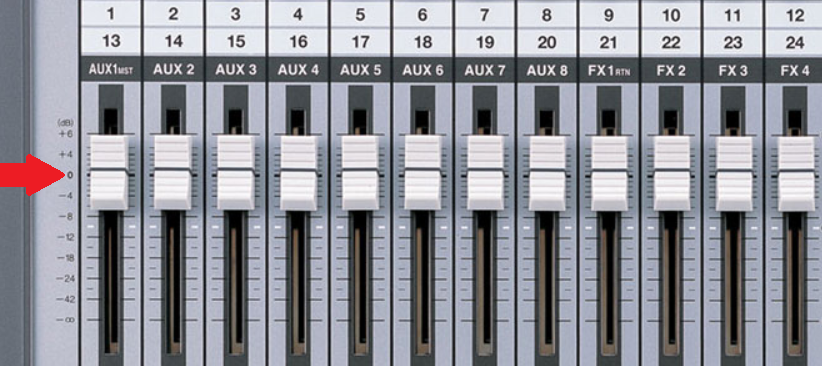
- Raise the red MASTER fader to send the input audio to the MASTER bus.
- If speakers are connected to the MONITOR OUTs on the back panel, raise the red MONITOR knob to the left of the LCD screen.
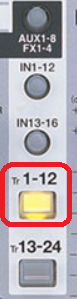
If headphones are connected raise BOTH the MONITOR knob AND the PHONES knob. - Press TR 1-12 to select the track mixer.
- Press the TRACK STATUS button for each track respective to it's input. The button will begin to blink indicating it's armed and ready for recording.
For example, if a microphone is connected to input 5, press the TRACK status button for track 5.
- Press
 d and then press
  to begin recording.