Follow the steps below to set up the instrument.
What you’ll need besides the TAIKO-1 and stand
- String (0.5 m) × 4
- Thick cloth/fabric (used for cushioning) × 3

- Remove the pads and sound module of the TAIKO-1.
- The rods and rings are not used here.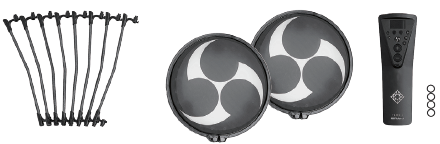
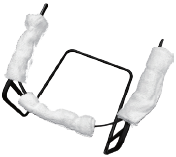
- Wrap the cloths or fabric around the stand (three places).
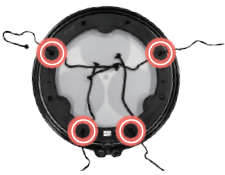
- Turn the pad over and thread the strings through the holes where the rods are usually mounted (four places).
- Flip the stand upside down that you wrapped with cloths or fabric in step 1, and place it on the pad that you turned over.
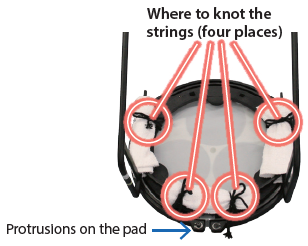
- Position the pad so that the protrusion faces towards you. - Tie the strings into knots (four places).
- Turn the assembled unit over.
- Connect the pad and sound module with the included trigger cable (1.0 m).
Pad: TRIG OUT jack
TAIKO-1: TRIG IN 1 jack (or TRIG IN 2 jack)
- Set all Xtalk Cancel parameters to “0”.
See also the related video.
Attaching the Instrument to the Stand Roland TAIKO-1 #02