The following article will guide through setting up an external instrument or audio device--such as a keyboard, drum machine, iPod, audio player, etc.
Note: If using a Windows computer, the Rubix 22 driver must be installed prior to following the instructions below. You may download and install the driver for your computer's operating system here. (Installation instructions are included in the download)
Connections:
- Connect the Rubix to the computer via USB and power it on.
- Connect headphones to the PHONES jack or speakers to the OUTPUT 2R and 1L jacks.
Note: If speakers are connected, be sure that their power is on and the volume level for the speakers themselves are up.
- Connect the left and right audio outputs of the external stereo instrument or device to the 1/4" jacks (INPUT 1L and INPUT 2R) on the front panel of the Rubix 22.
**If connecting a mono device, just connect to either INPUT 1L or INPUT 2R.
NOTE: Adapter cables may be needed if the external instrument does not have 1/4" outputs.
For example: RCA to 1/4" adapter cables that can be purchased at most electronic stores or online: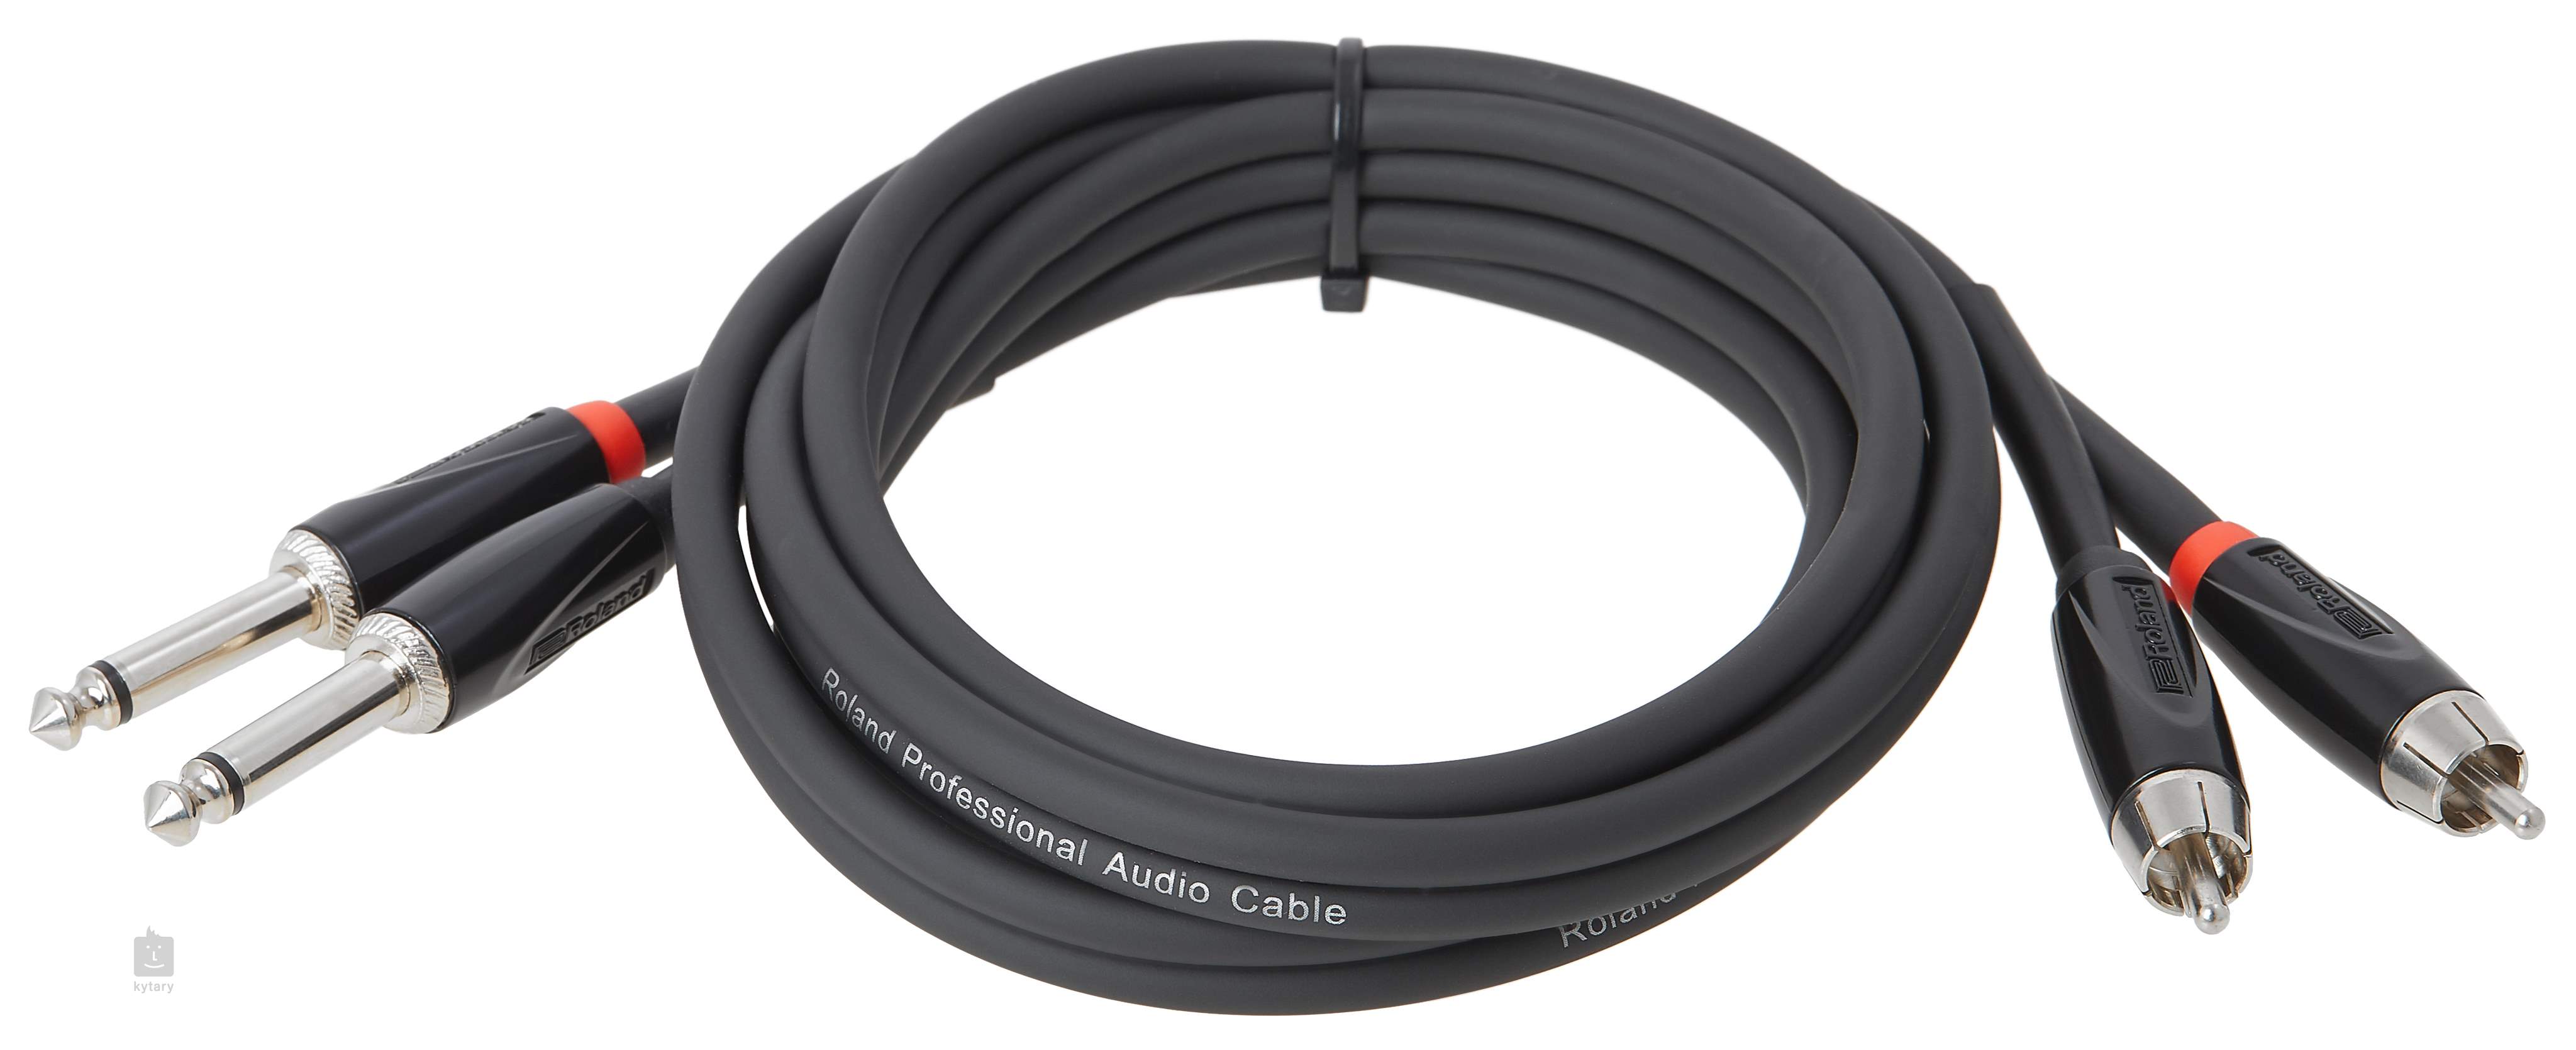
Setup:
- Lower the OUTPUT knob and the PHONES knob completely counter-clockwise.
- Set the DIRECT MONITOR switch to STEREO or MONO--depending on whether the external device is stereo (i.e. has left and right outputs) or mono (i.e. has one single mono output).

- Lower the INPUT 1L and INPUT 2R SENS knobs completely counter-clockwise.
- Raise the volume of the external audio device from the device itself.
-
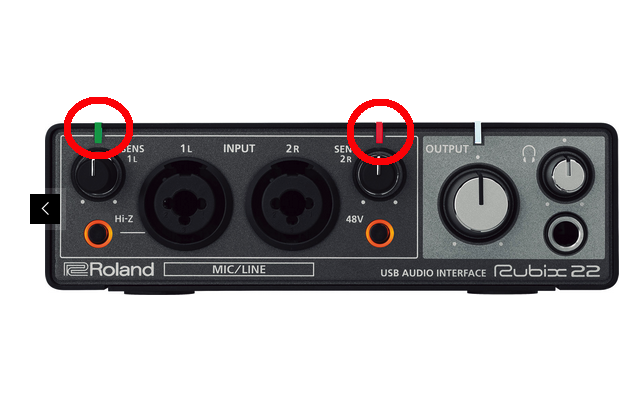
Begin playing audio from the external instrument or audio device and slowly raise Rubix 22's INPUT 1L and INPUT 2R knobs clockwise until the 1L and 2R "SENS" lights turn red only occasionally.
-
While still playing sound from the external instrument or device, raise the Rubix 22's OUTPUT knob or PHONES knob to hear audio.
-
The Rubix 22 is ready to go and can now be setup in your audio software!