Items Needed:
- VR-4HD hardware
- Windows or Mac Computer with a USB 2.0 or 3.0 port
- USB cable connected between the VR-4HD and Computer
Caution:
- Never apply this update data to any product other than the VR-4HD. This update data may destroy the data or system program of other products.
- Never power-off your VR-4HD while the update is in progress!
If a power failure or similar accident occurs during the update process, the VR-4HD won’t be able to start up in normal operating mode. This will require servicing, so you will need to contact Roland service center near you if this occurs.
Procedure:
Step 1
Download the System Program Firmware update file from the VR-4HD Downloads Page.
Scroll to the bottom of the page, click the checkbox, and click on the orange button to download.


Note: The latest version is "vr4hd_sys_v2110.zip", this image is for reference
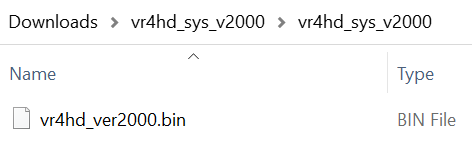
It will appear in your downloads folder as vr4hd_sys_v2110.zip.
Extract the contents of the .ZIP file, which contains the file VR-4HD_ver2110.bin.
Note: The latest version is "vr4hd_verv2110.bin", this image is for reference
Do not try to open or rename the .BIN file, it is not a program that you run or install. You will upload it to the VR-4HD in a later step.
Step 2
If you have not already, download and install the latest version of the VR-4HD RCS Control Software for Windows 10 or MacOS.
Scroll to the bottom of the page, click the checkbox, and click on the orange button to download.

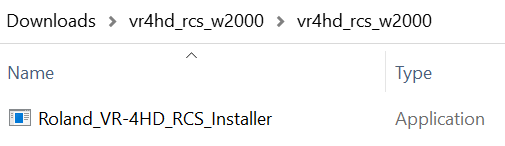
Note: The latest RCS version is "vr4hd_rcs_w2100" (Windows) or "vr4hd_rcs_m2100" (Mac), this image is for reference
You will install and run this software to upload the .BIN file to the VR-4HD.
You can also use it to control your VR-4HD, and change menu settings.
Step 3
Connect your VR-4HD to your computer with a USB cable.
Hold down the [ SYSTEM SETUP ] button and the [ OUTPUT ] button and turn on the power to the VR-4HD.
You can let go of the buttons once the [ KEY ] button is flashing, in the bottom right corner of the top panel.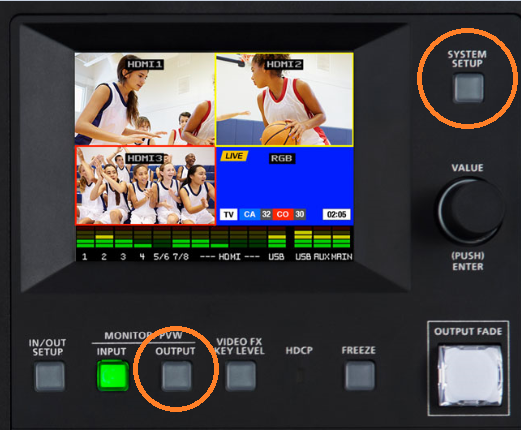
This button will flash yellow repeatedly, and you will not see anything on the LCD screen.

Step 4
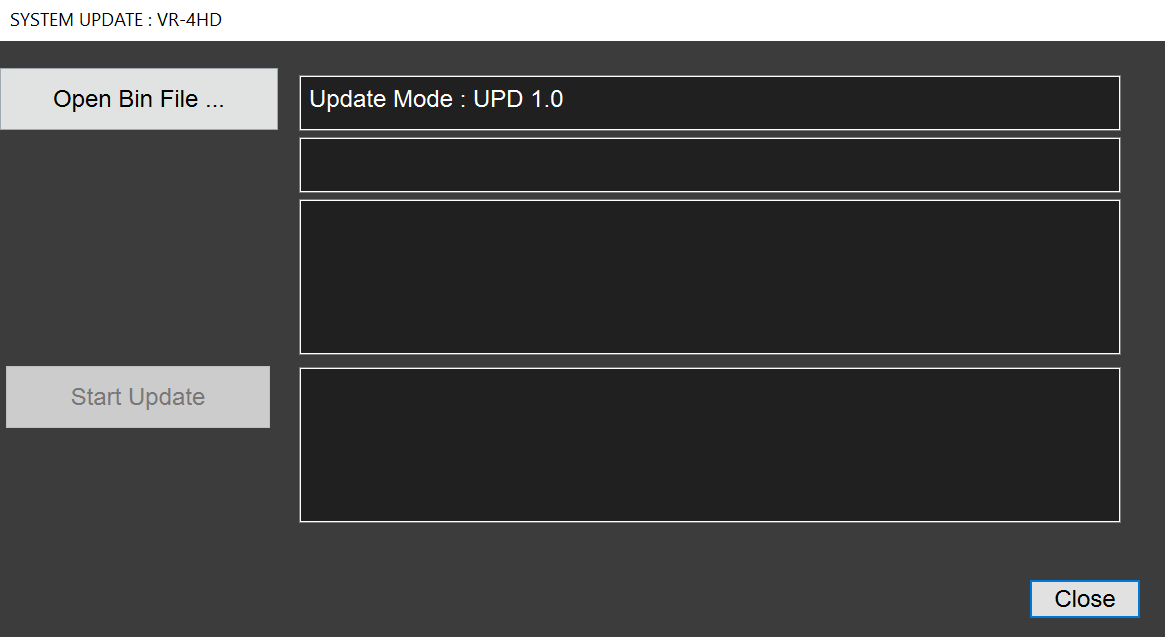
Start the VR-4HD RCS, and click the [ UPDATE ] button at the top left of VR-4HD RCS.
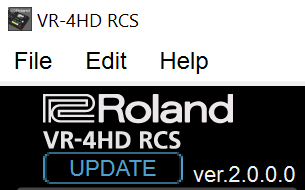
Note: The latest version is "2.1.0.0", this image is for reference
Step 5
Click the [ Open Bin File ] button, then find and select "vr4hd_ver2110.bin" file from earlier in the vr4hd_sys_v2110 folder.
Step 6
Click the [ Start Update ] button.
The update takes about 4-6 minutes. During the update, you will eventually see the four video input select buttons flash yellow repeatedly, and then flash red repeatedly.
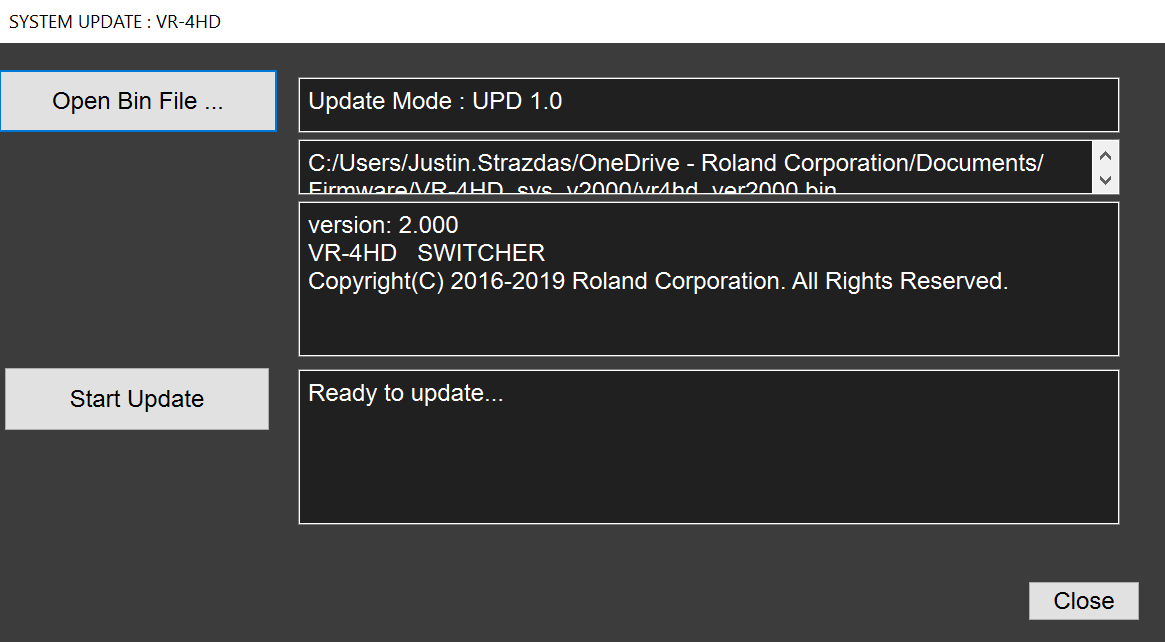
Note: The latest version is "2.110", this image is for reference
Step 7
When "Update Completed" is displayed, the update is completed.
The four video input select buttons will stay solid green.
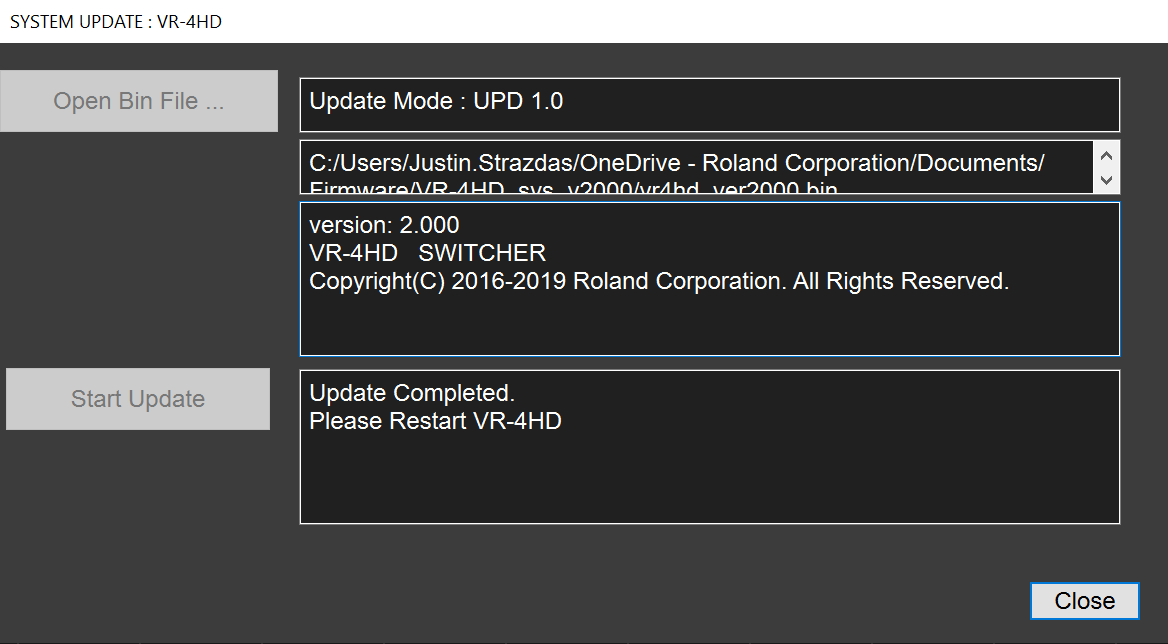
Note: The latest version is "2.110", this image is for reference
You can now quit the VR-4HD RCS.
Use the [ POWER ] button on the back of the VR-4HD to turn it off, wait a few seconds, and power it back on again.
Please allow a couple minutes for the VR-4HD to power on for the first time after updating. You may see a progress bar on the LCD screen. After that, it will power on and boot the way it normally does.
More Information
For more information about VR-4HD Firmware, refer to the System Program link on the Downloads page.
Note: This is separate from the manuals.